Structured Wiring Enclosure Install
Many months ago I started the planning process to install a structured wiring enclosure, and acquired an On-Q 30 inch plastic enclosure.
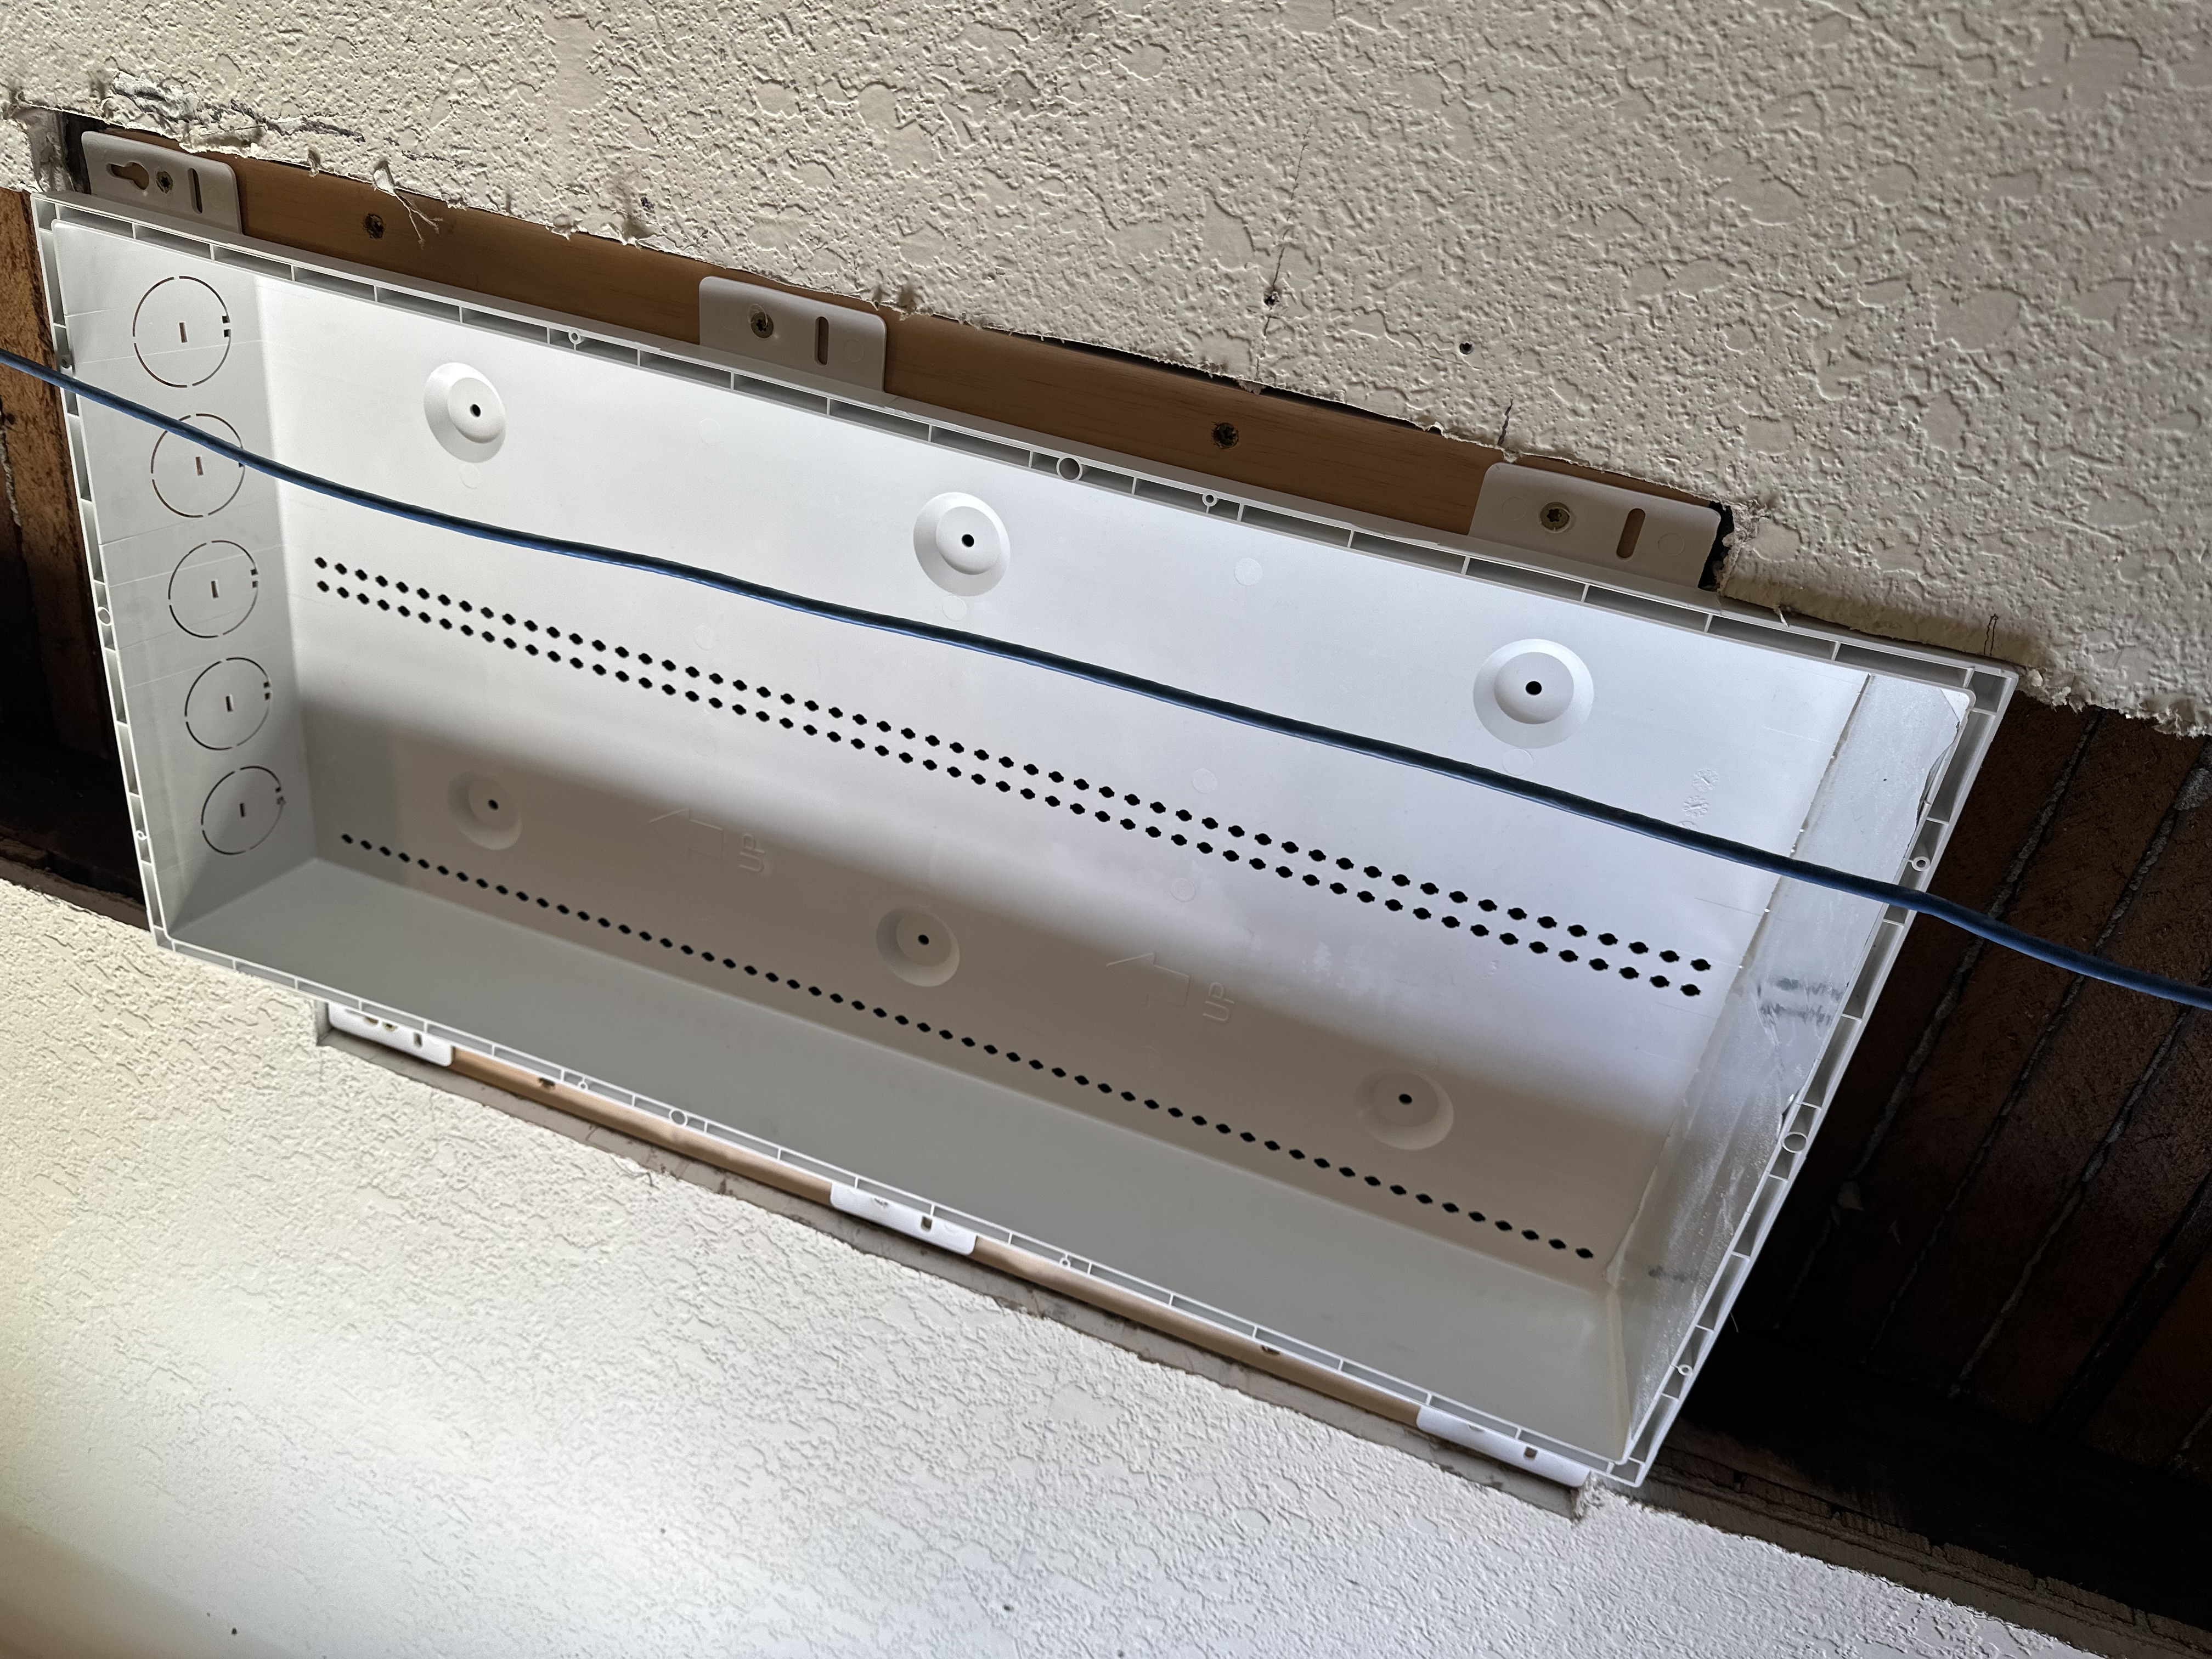
It took a while to plan the entire project because I couldn’t decide whether or not I was going to take down all of the drywall in the room where the install was happening.
The issue being that my home was built with plaster walls, and later on drywall was installed over the plaster. This is pretty common in this area where most homes are very old, mine being built in 1910. With an old house, comes old problems that get covered up. If I didn’t take the entire wall down, I would need to use wood on top of the studs to install the cabinet onto, and it would me refinishing the drywall a little but more difficult—though not impossible. (I am just not great at finishing drywall.) I eventually settled on removing the material for the wall cavity only and using thin strips of pine I had laying around to fill the gap between the studs and the drywall.
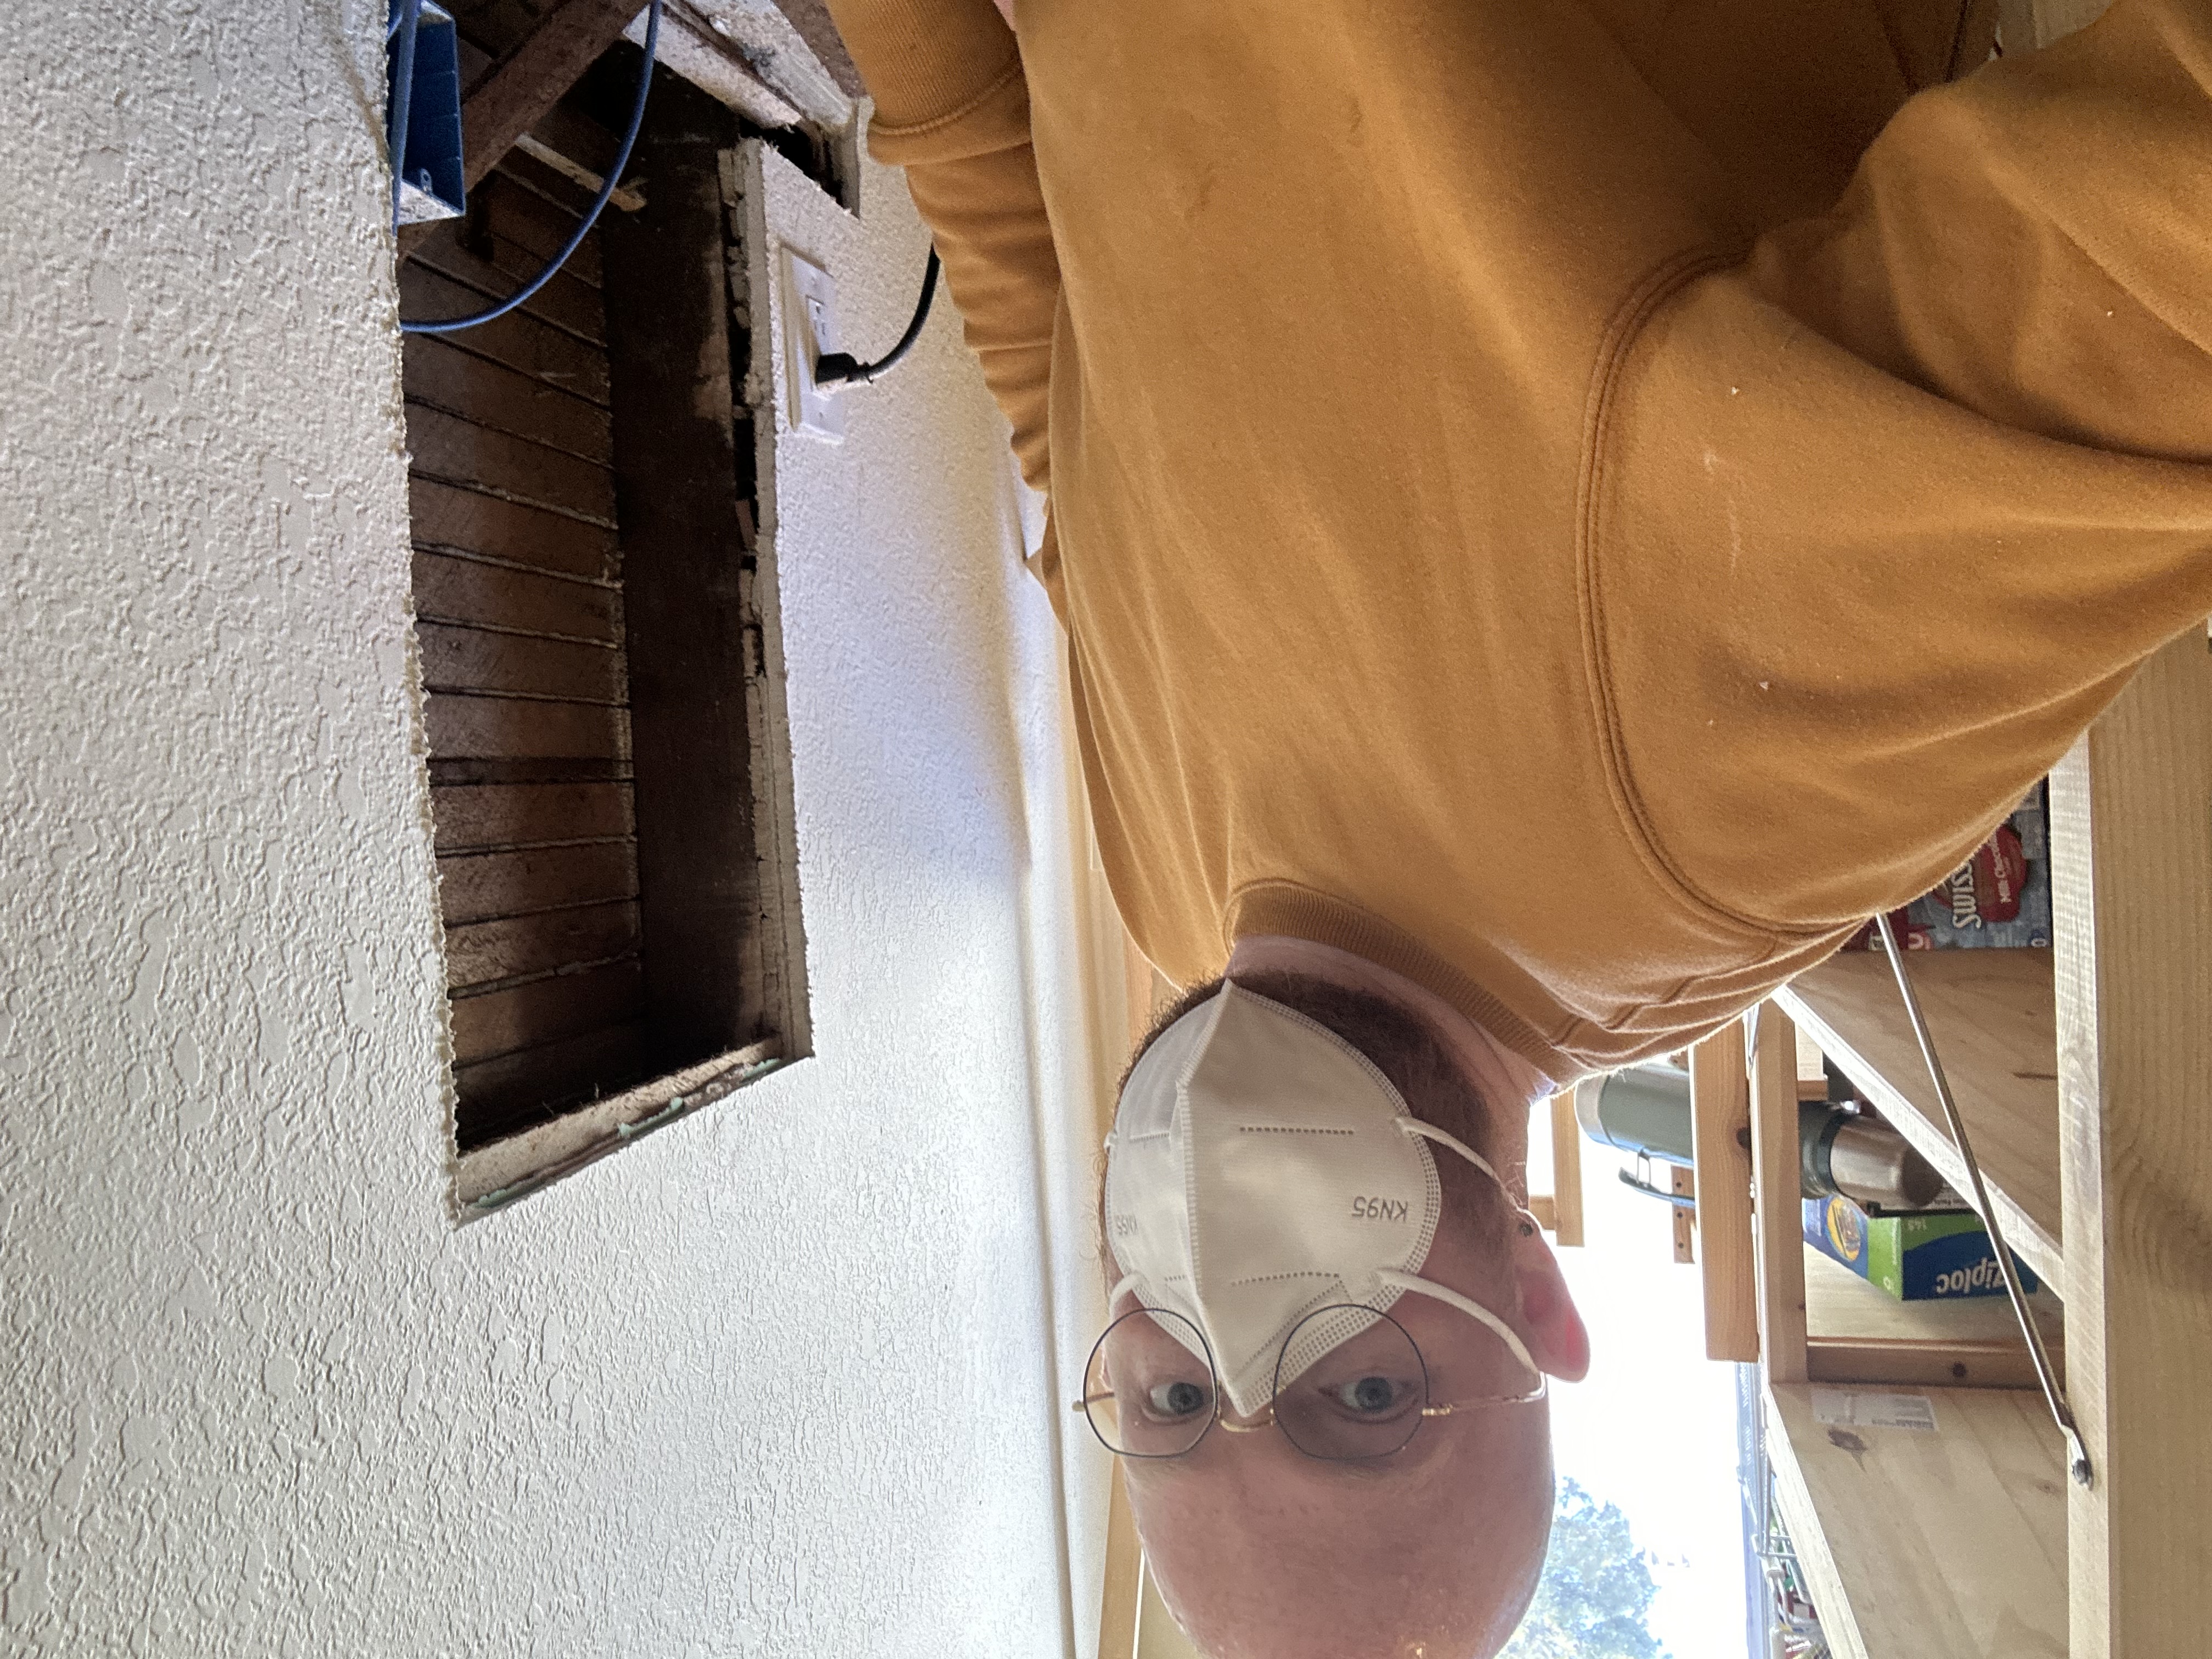
A KN95 probably isn’t adequate for the dust that came from this project. Don’t do this.
Once I got the wall opened up, I was able to get the enclosure successfully installed and I moved the cabling into the enclosure.
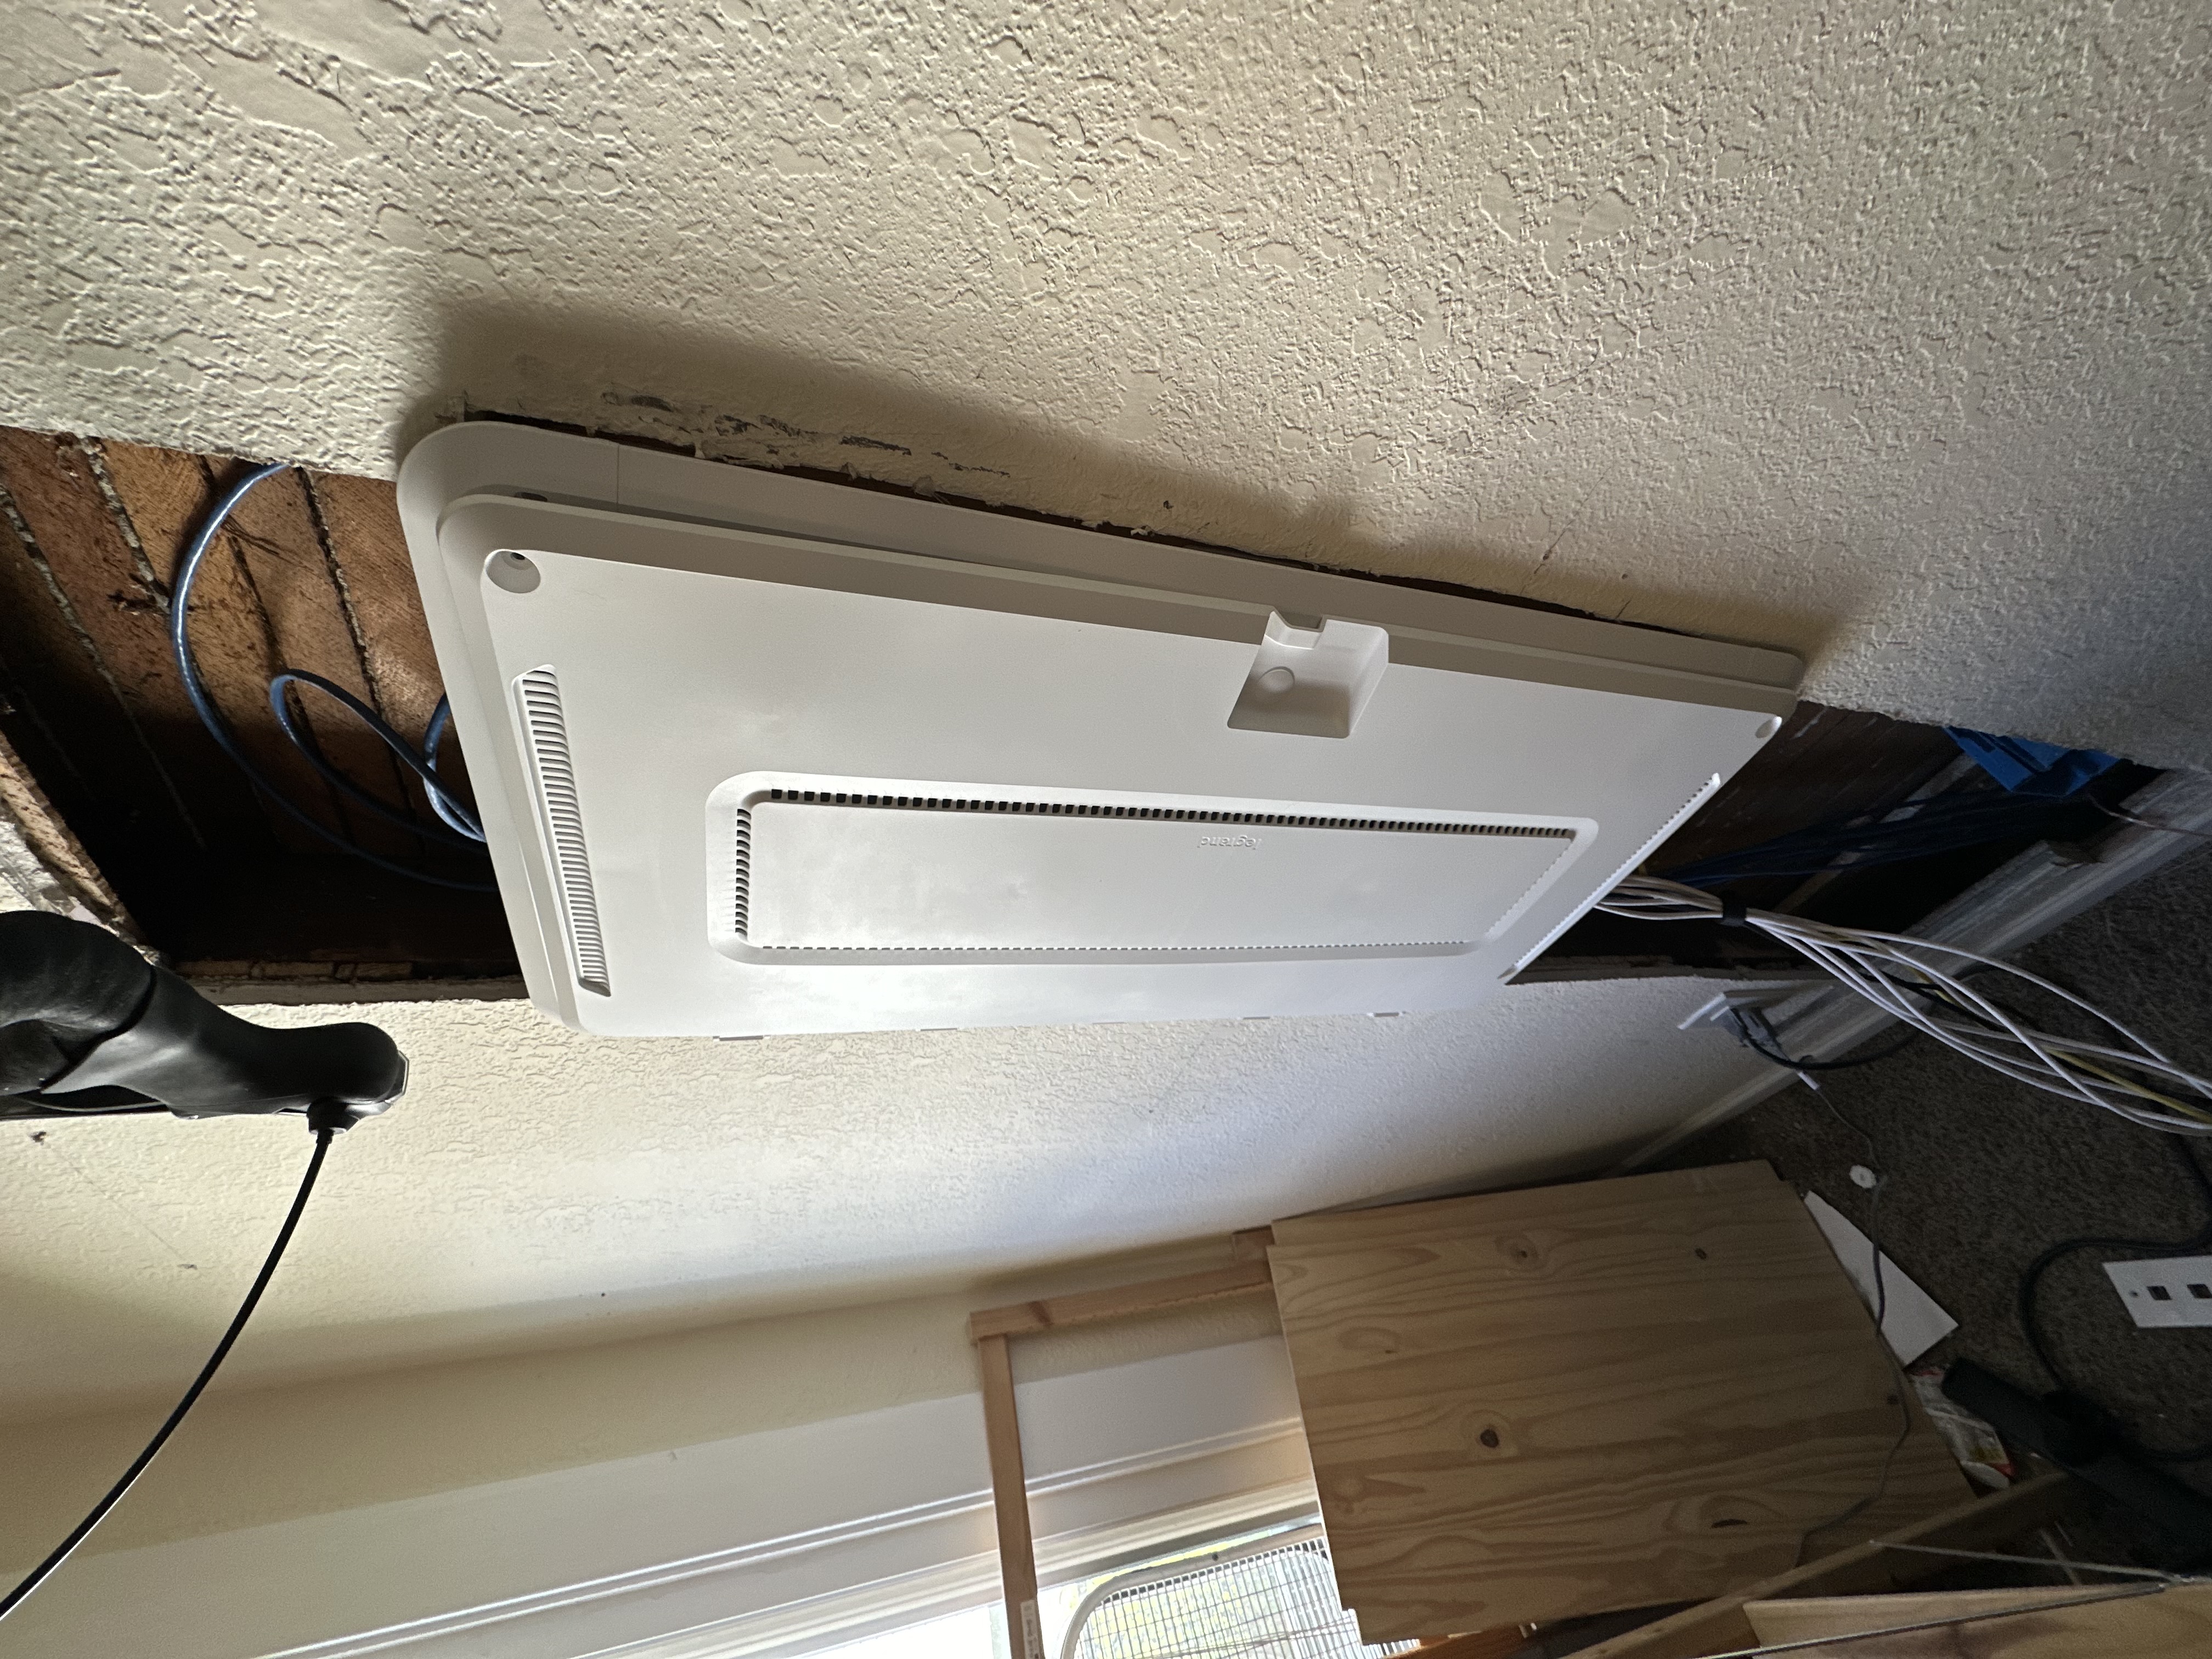
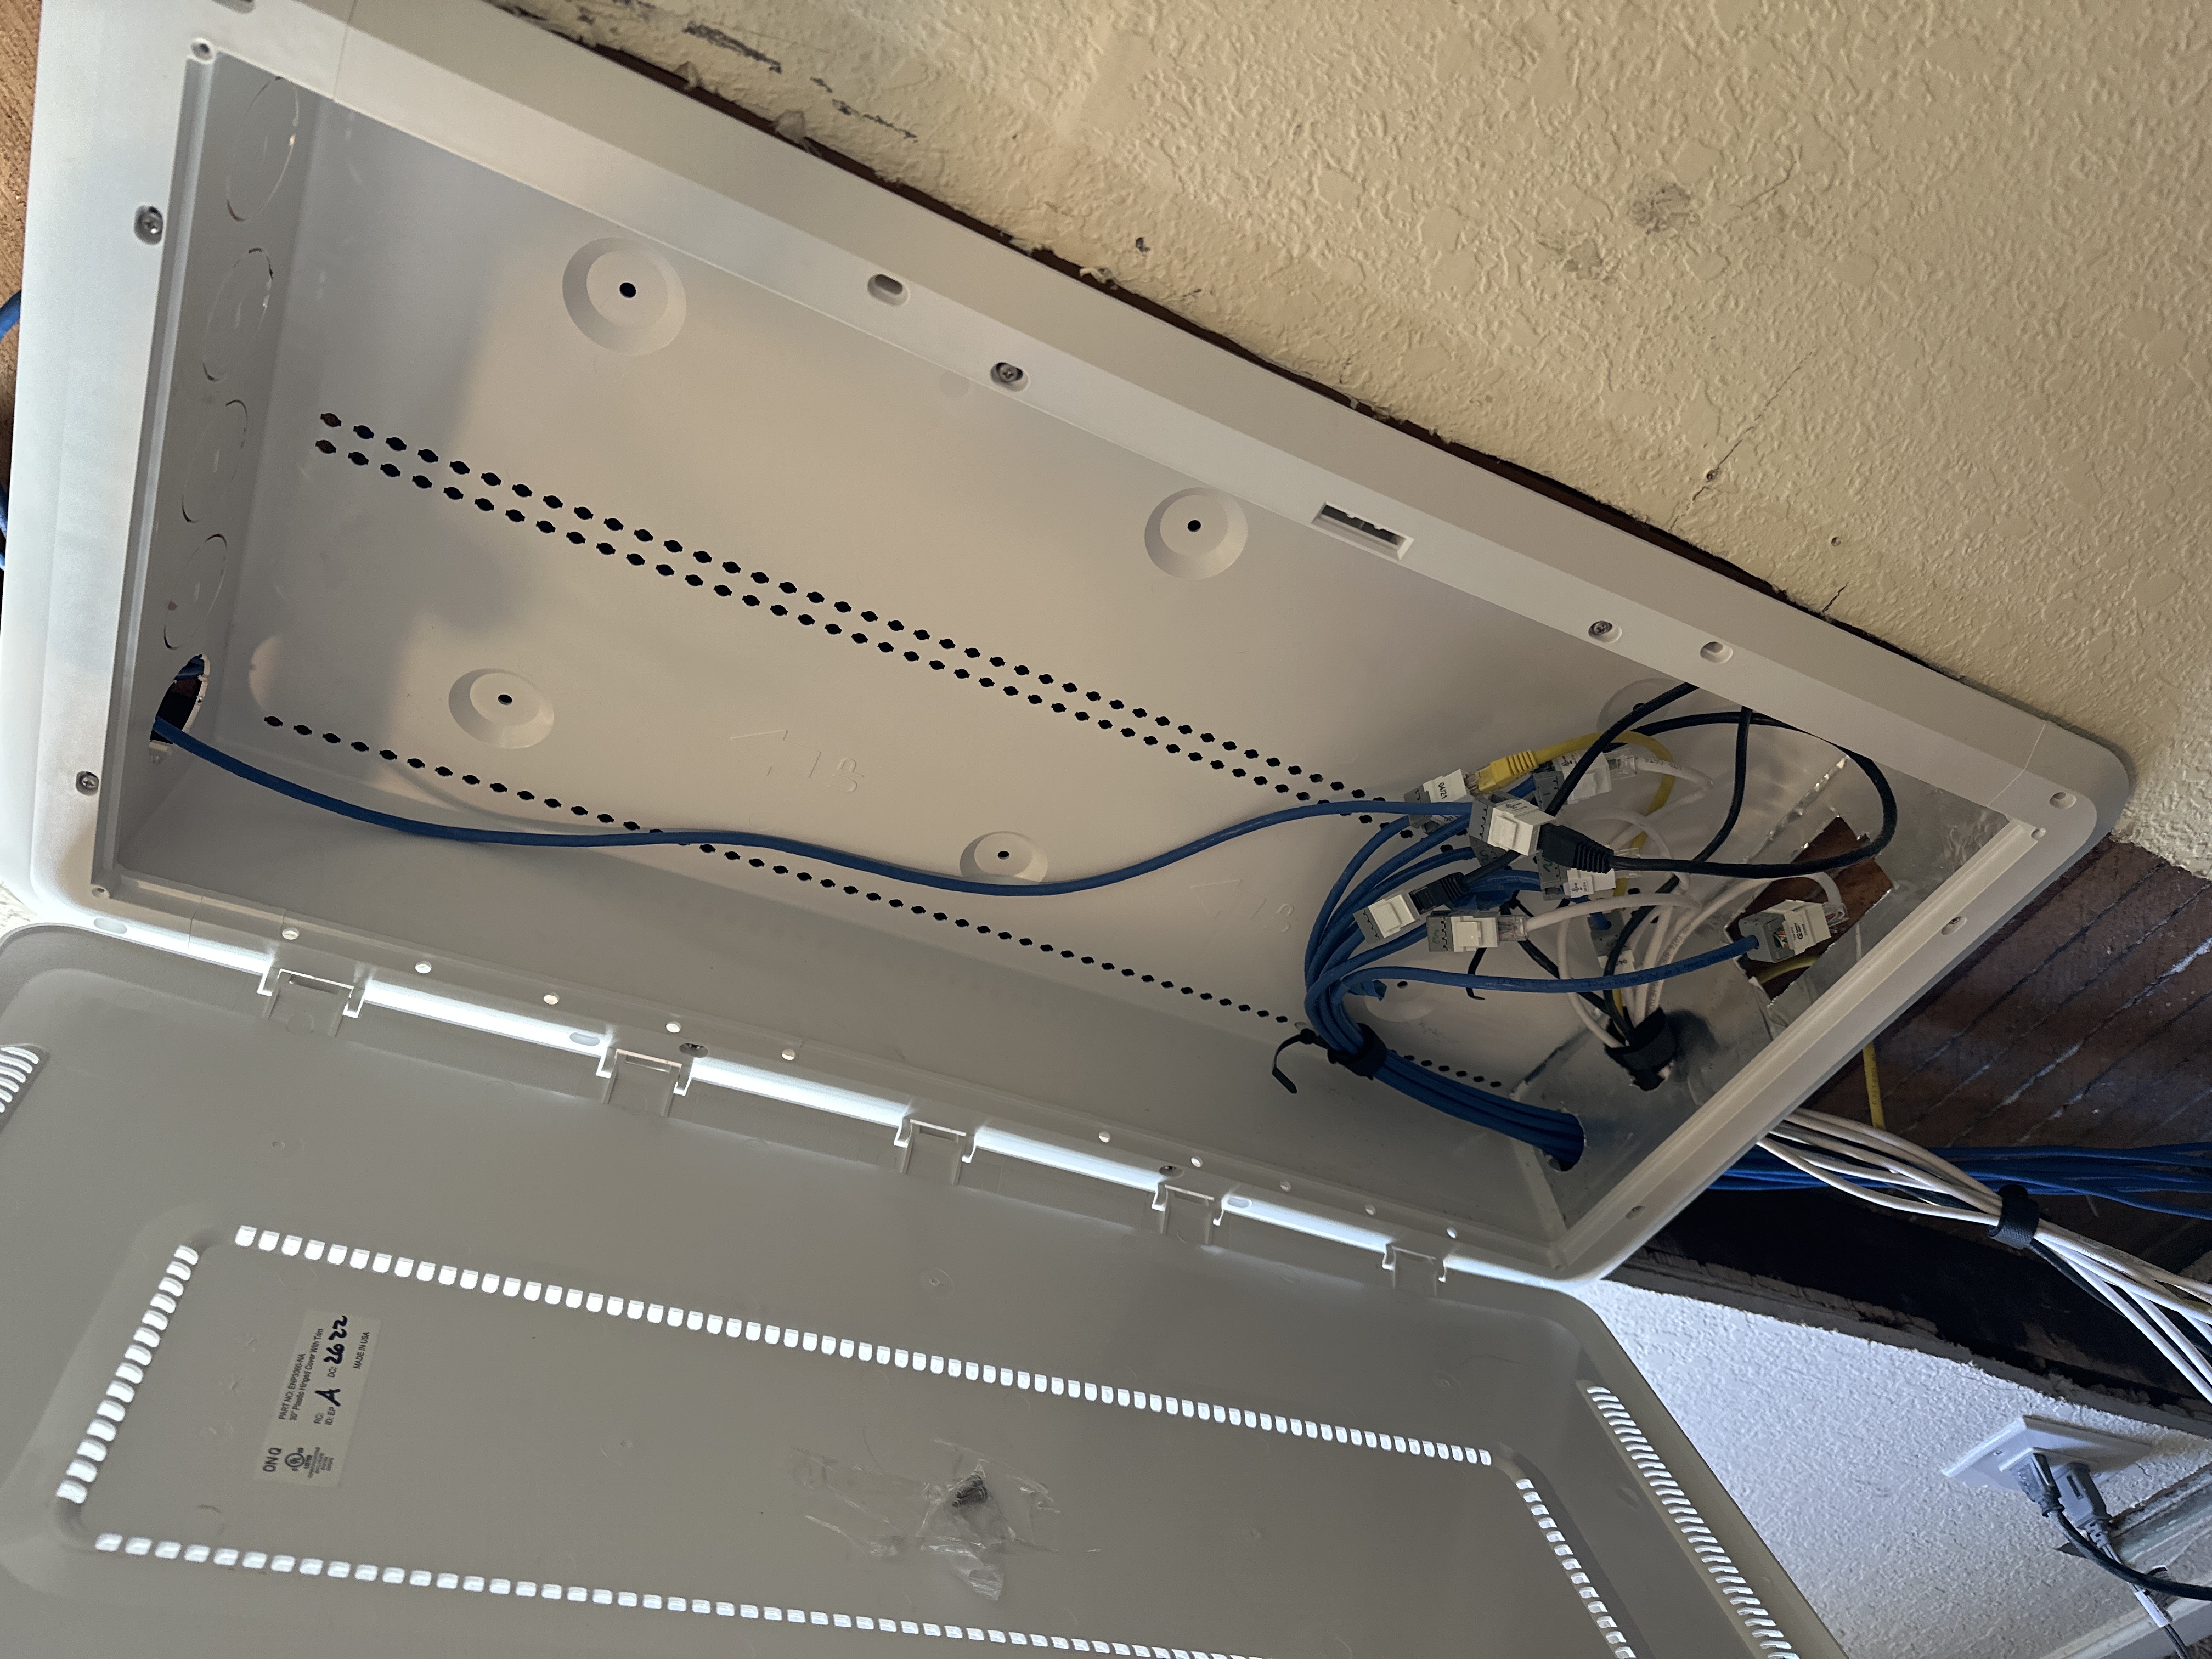
There is definitely some work that still needs to be done to finish things up. The cables will not be hanging like that when things are done.
My next steps will include:
- Installing punch down network interface modules
- Moving low voltage devices like smart home hubs into the enclosure
- Possibly moving my ONT into the enclosure
- Getting longer patch cables
- Finishing the drywall
Overall, this was a fun project to work on that I am looking forward to finishing. My end goal is to have long enough patch cables that I can roll my rack away from the wall a bit when needing to do work from the back, and also move my rack throughout the room if I need to reconfigure it—without having to worry about damaging my structured wiring. I intend to buy a larger rack with a door, this summer, instead of my open rack.